
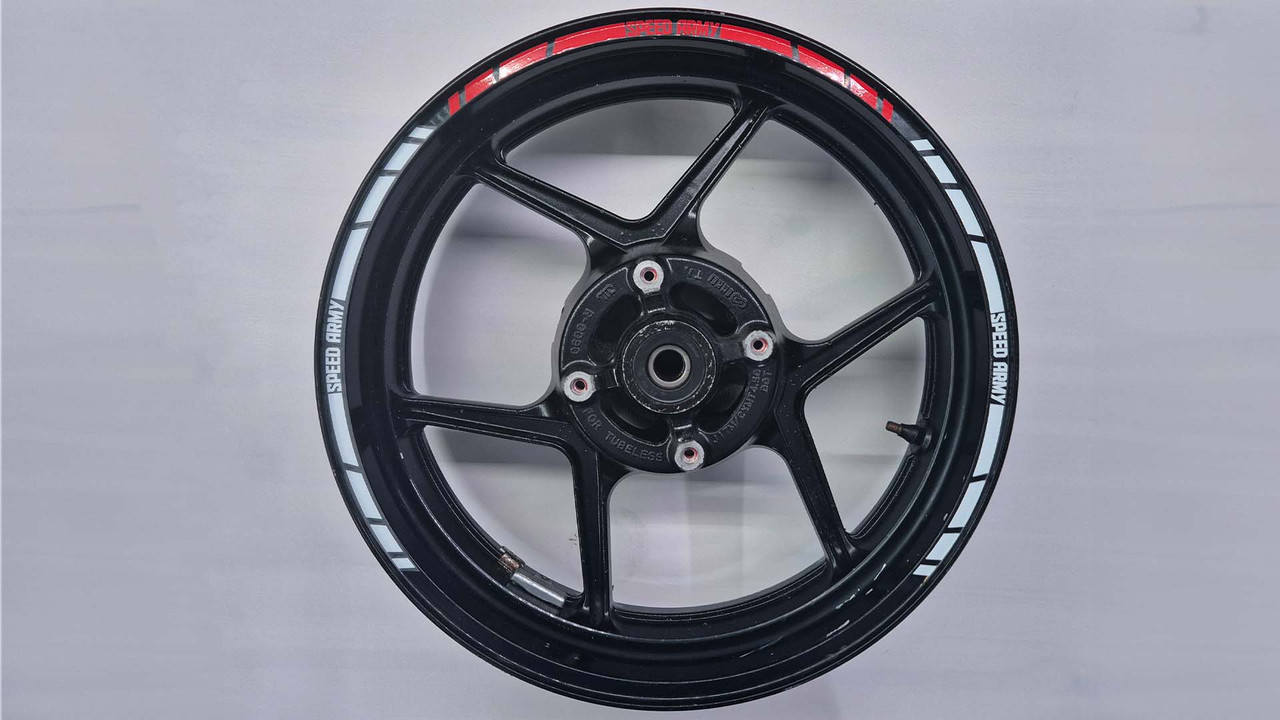
Wheel Decals Instructions

Motorcycle Wheel Decal Application Guide
Materials Needed
- Warm water and soap
- Isopropyl alcohol
- Clean cloth or paper towels
- Decal strips
- Hair dryer or heat gun
- Soft cloth or glove for pressing
Step-by-Step Instructions
Important: Make sure the wheel temperature is above 15°C (not just the air temperature). If the wheel is too cold, a thin layer of moisture can form and prevent the decal from sticking properly.
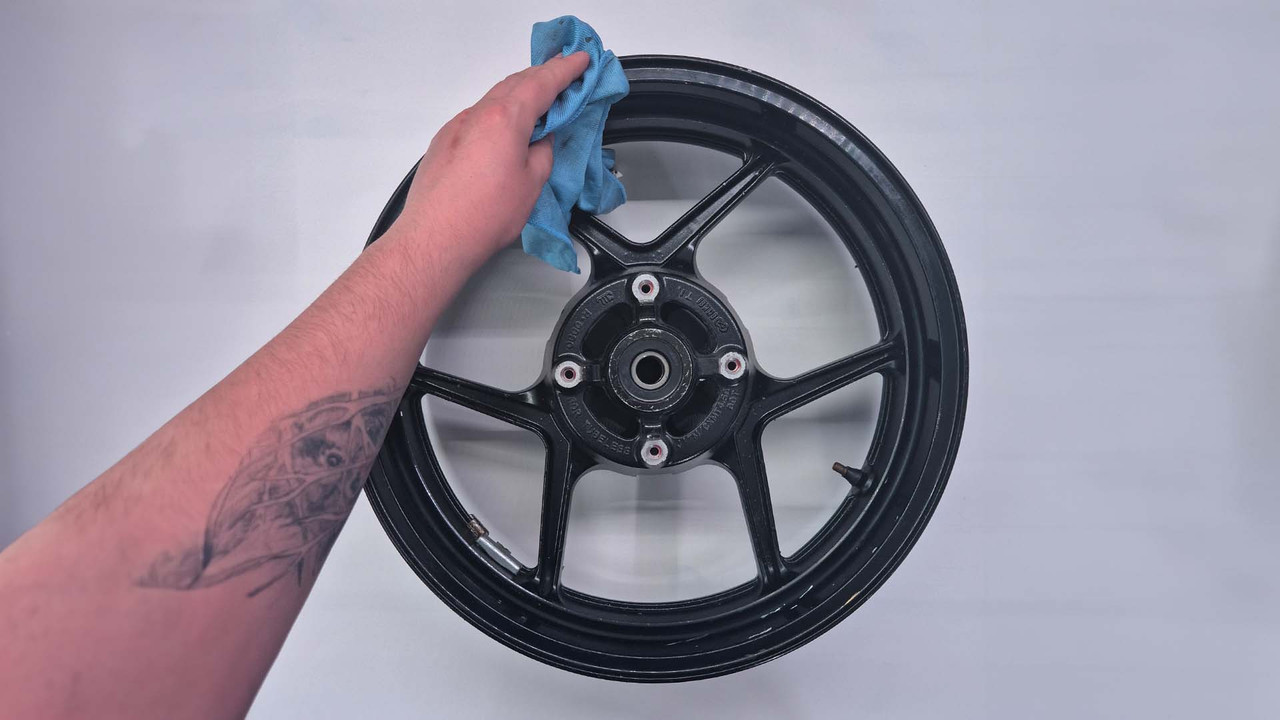
Clean the Wheels
Wash the wheels thoroughly with warm water and soap. This removes dirt and dust that could prevent the decals from sticking well.

Dry the Wheels
Make sure the wheels are completely dry. Use a clean cloth or let them air dry. Even a little moisture can stop the decals from sticking.
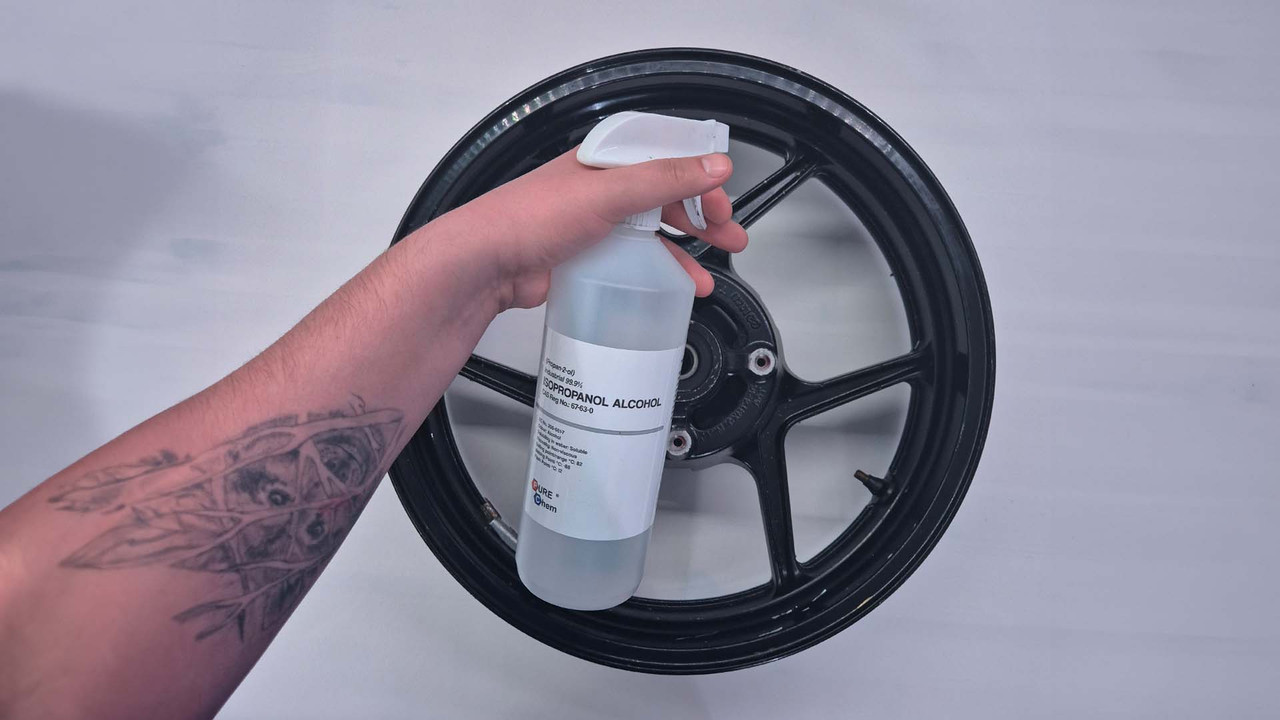
Remove Remaining Dirt and Grease
Wipe down the wheels with isopropyl alcohol to remove any leftover dirt or grease. This step helps the decals stick better.
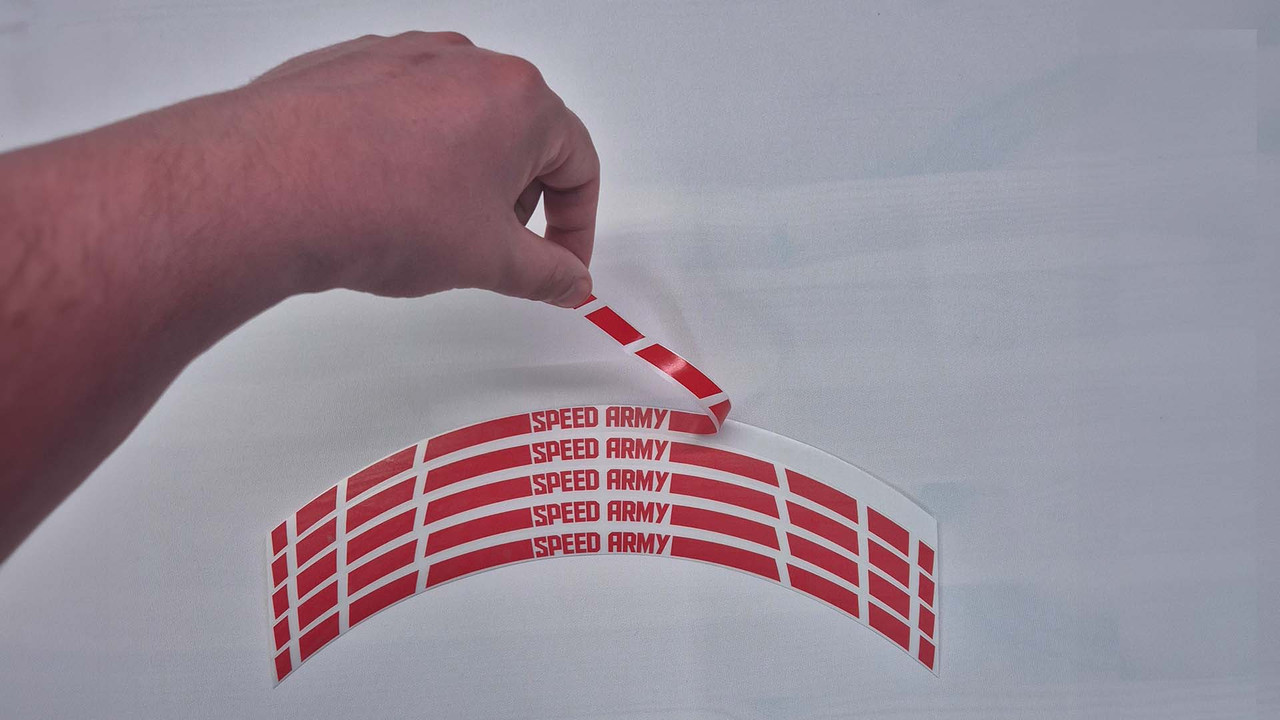
Prepare the Decal Strip
Peel one strip from the decal sheet carefully, holding it by the edges. This avoids leaving fingerprints on the sticky side. Tip: If your wheels are different sizes, check that the strip fits before sticking it on.
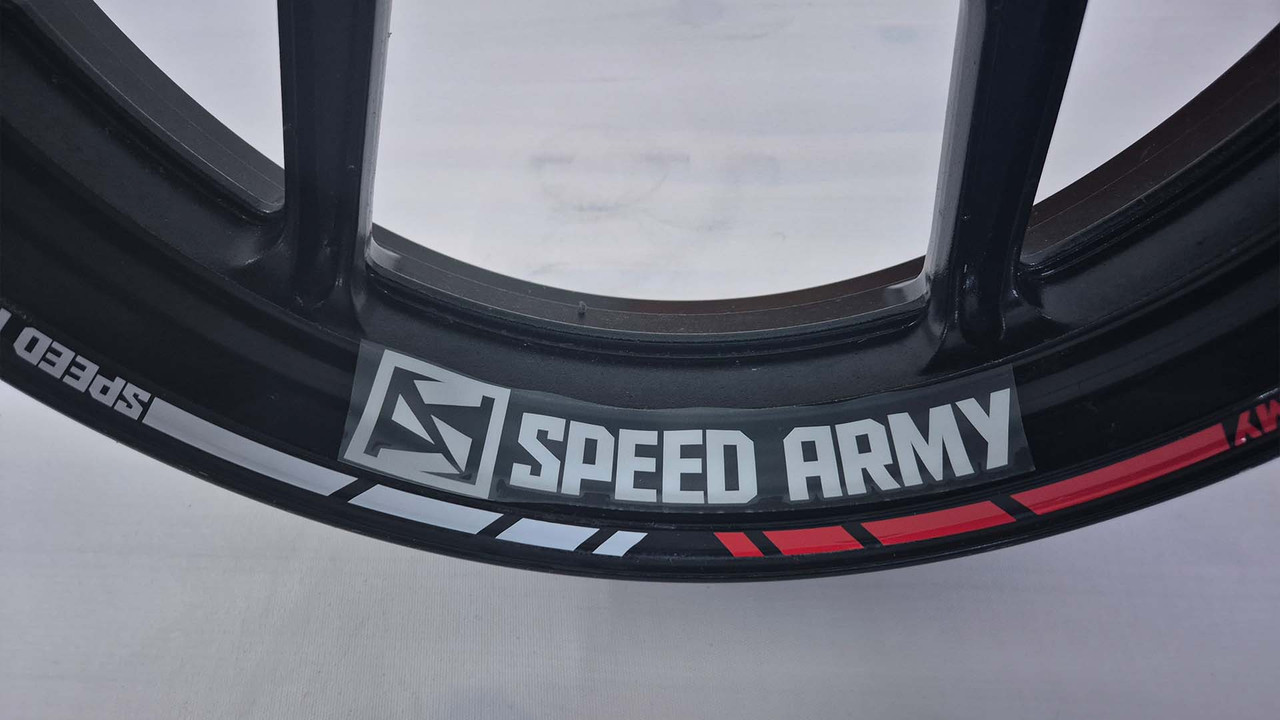
Align the Strip on the Wheel Edge
Lightly place the strip on the wheel edge and line it up. Don’t press it down until you’re happy with how it looks. Adjust as needed.
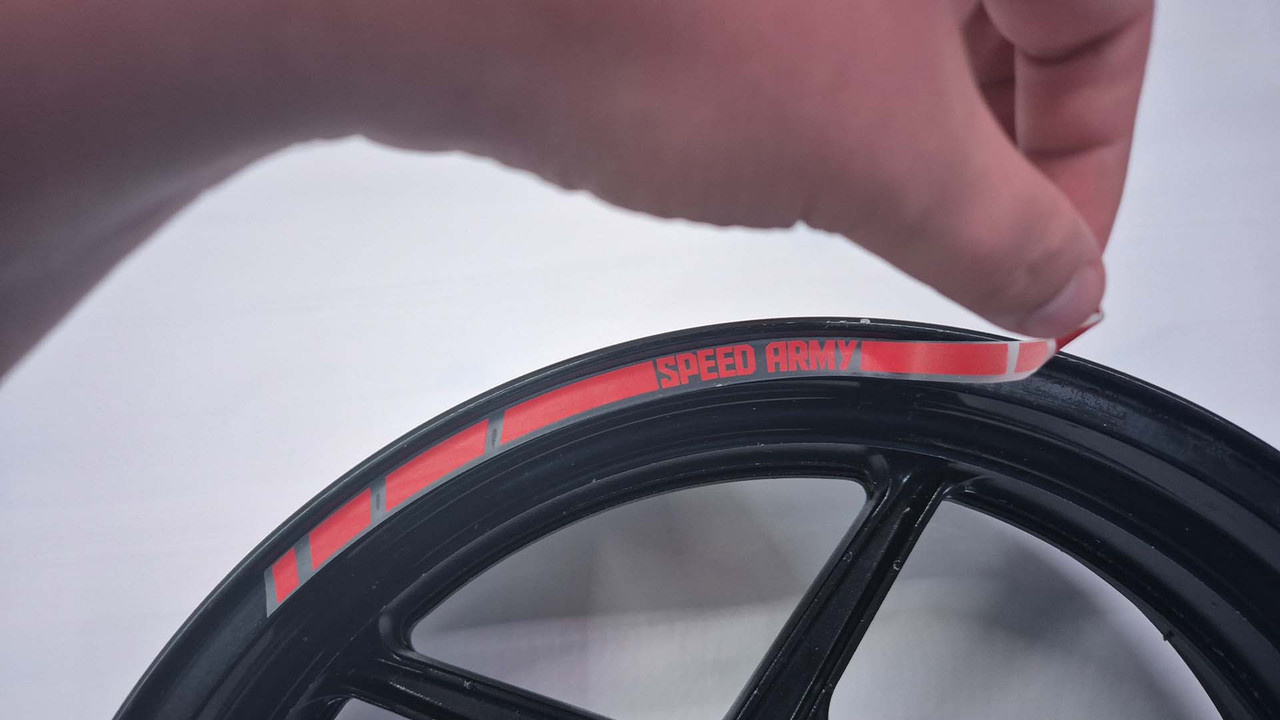
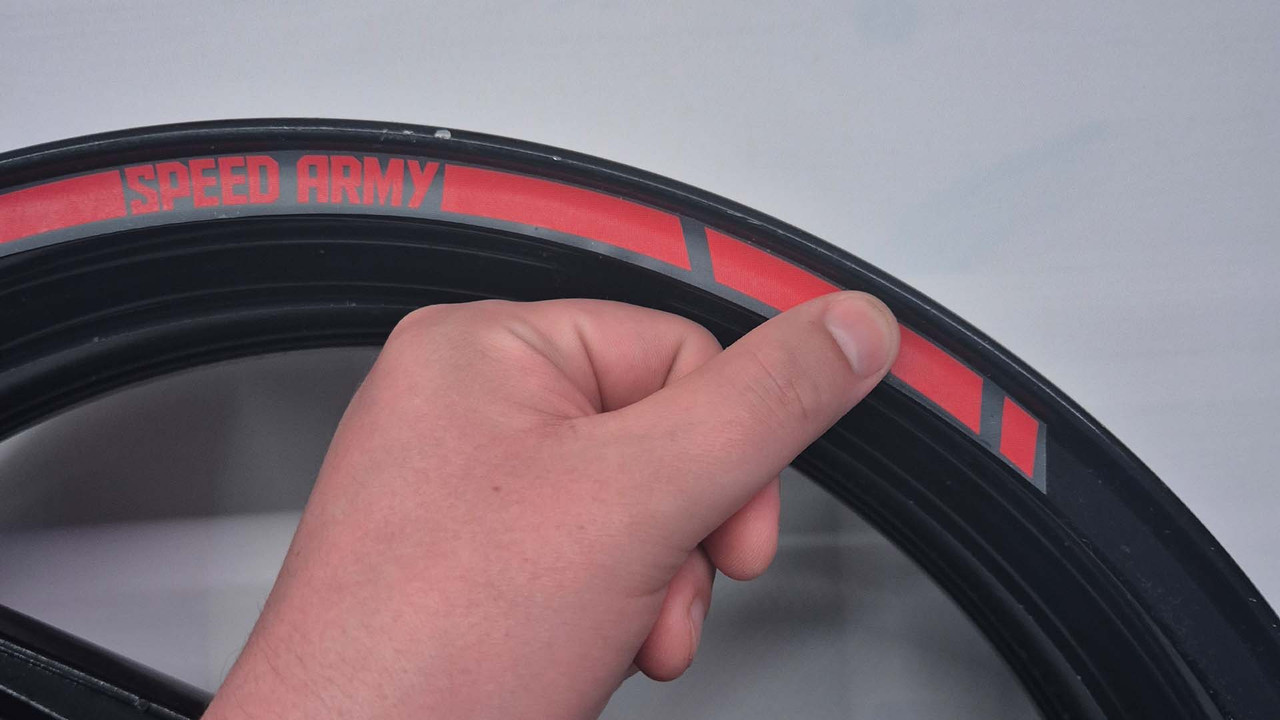
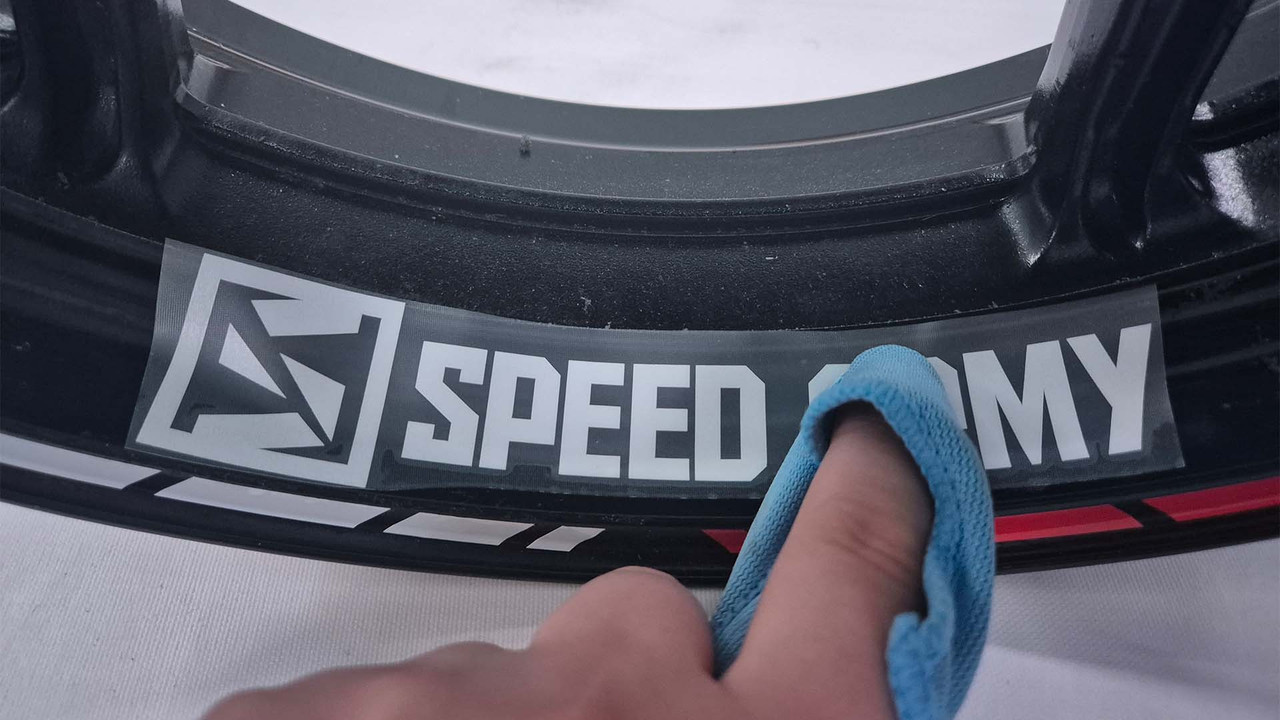
Press the Decal Down
Once it’s in place, gently press the decal down from one end to the other. Use your fingers or a soft cloth to smooth out any bubbles.
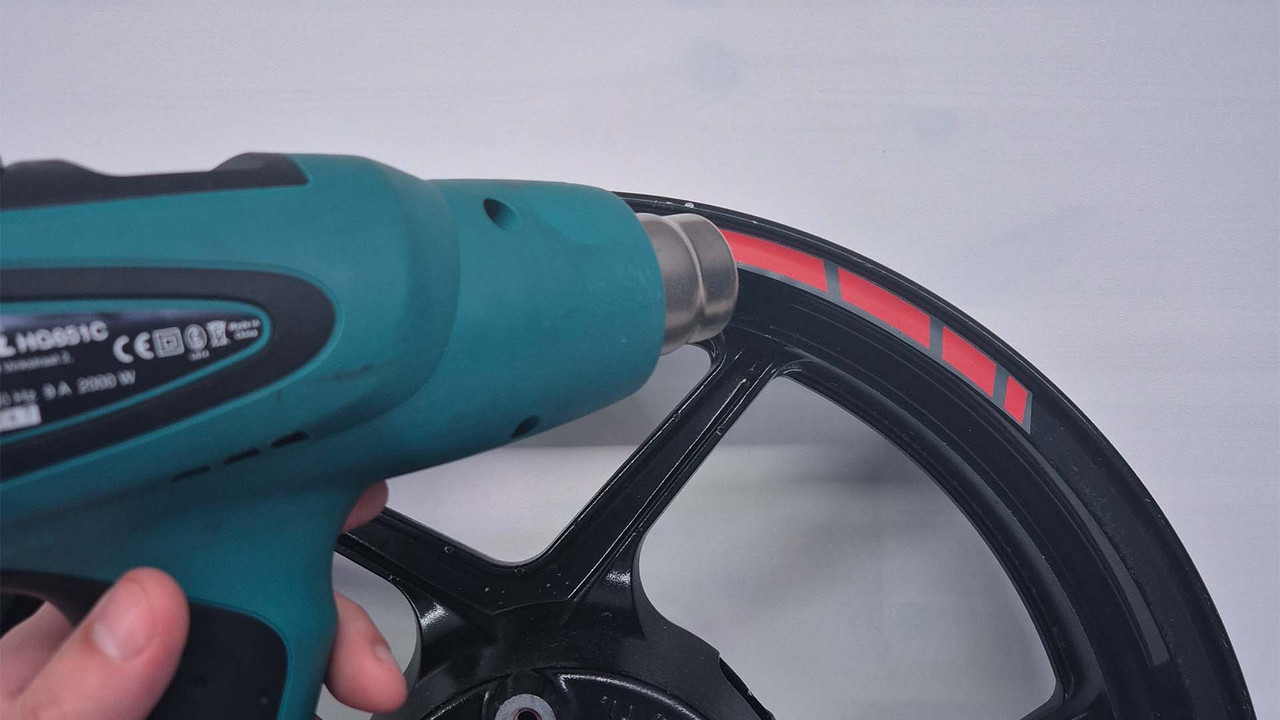
Warm the Decal
Use a hair dryer or heat gun to gently warm the decal. This helps it stick to the wheel.
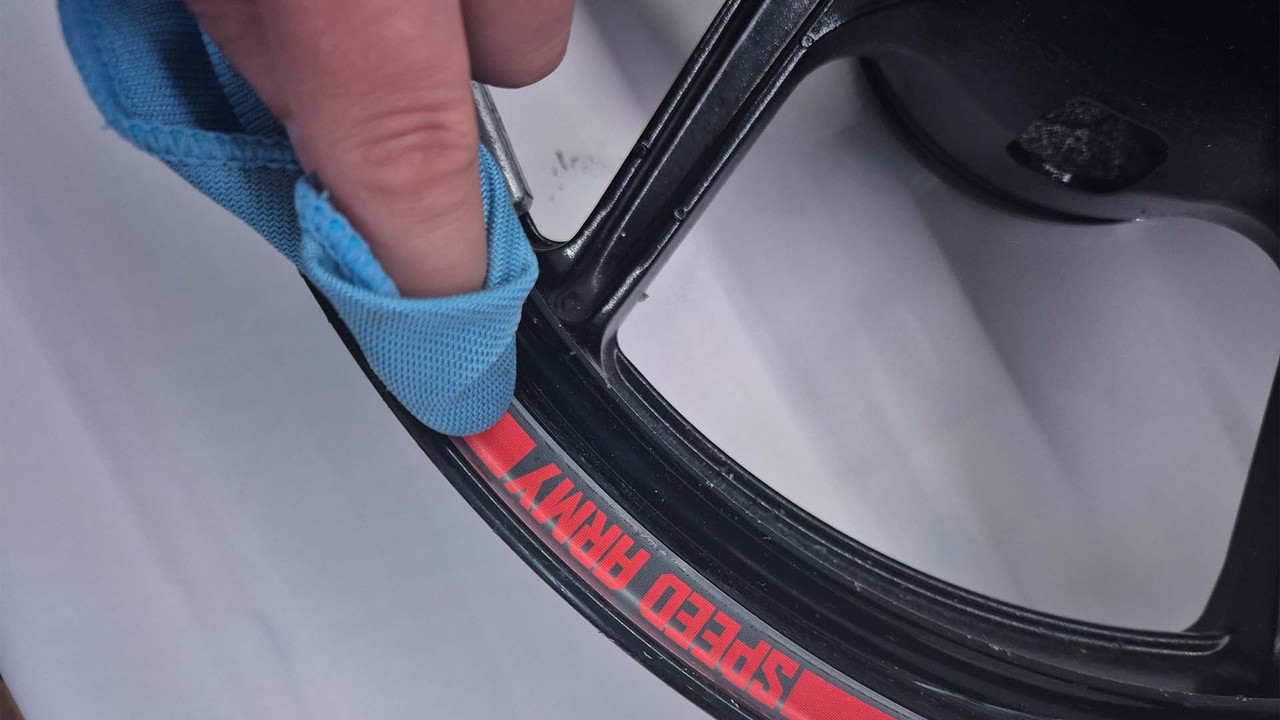
Press Firmly
While the decal is warm, press down on it with a soft cloth or glove to help it stick.
Peel Off the Transfer Tape
Slowly peel off the transfer tape. If the decal lifts, press it back down and apply a little more heat.

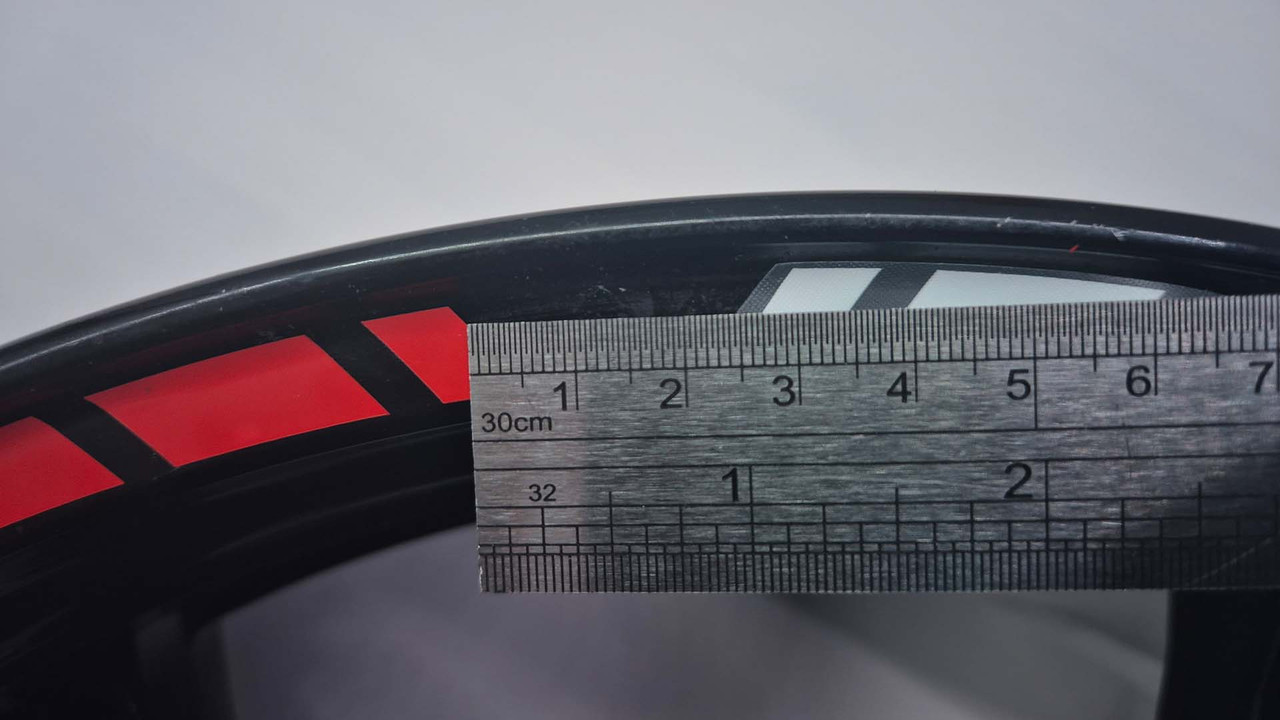
Apply the Next Strip
Take the next strip and repeat the steps. Leave a 2.5-3 cm gap between each strip.
Apply a Strip on the Opposite Side
To keep things even, apply the next strip on the opposite side of the wheel.
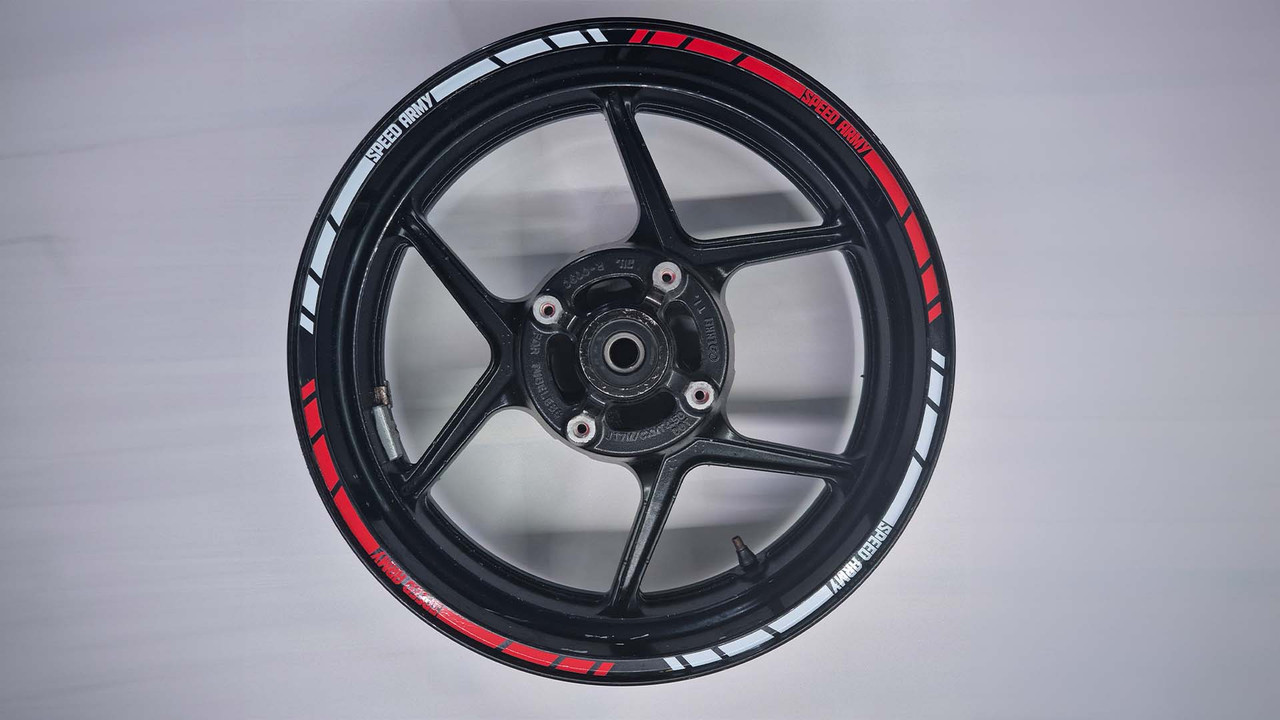
Finish the Outer Decals
Continue applying the strips until the wheel is fully covered, keeping the gaps even.
Place the Inner Decal
Line up the inner decals with the outer strips and press them down lightly.
 Note: Inner decals for the front and rear wheels may be different sizes. The bigger decals usually go on the rear wheel, so double-check before applying.
Press and Warm the Inner Decal
Press the inner decal down and warm it up, just like with the outer strips.
Apply the Opposite Inner Decal
Place the next inner decal on the opposite side and continue until all sides are covered.

Let Decals Set
Allow the decals to rest for at least 24 hours before riding. This helps them stick properly and last longer!
Don't forget to share or tag us online @speedarmydecals on Instagram, TikTok, and Facebook!
We love seeing your custom rides. Share your photos and get featured!
Contact Us
Gheorghita Cristian Lupu
41 Northdown Cl
Ruislip, HA4 6JY, United Kingdom
Gabriel Tudorache
14 Spant
1628NA Hoorn, The Netherlands
Email: contact@speedarmy.co.uk
Website: speedarmy.co.uk